
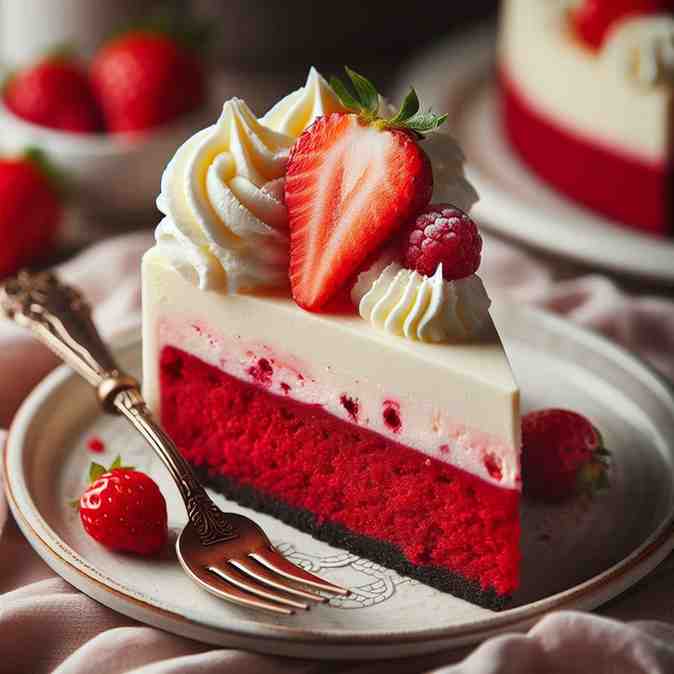
The perfect blend of romance and sweetness with our Valentine’s Day Special: Red Velvet Cheesecake. This exquisite dessert combines classic red velvet cake’s rich and velvety texture with the creamy decadence of a luscious cheesecake. Red Velvet Cheesecake is the perfect way to add a touch of sweetness to your Valentine’s Day festivities.
Valentine’s Day Special Red Velvet Cheese Cake Recipe:
Here’s a delicious recipe for a Red Velvet Cheesecake, perfect for a Valentine’s Day special treat:
Ingredients For Red Velvet Cheese Cake:
Red Velvet Cake Base:
- 2 1/2 cups all-purpose flour
- 1 1/2 cups granulated sugar
- 1 teaspoon baking powder
- 1 teaspoon baking soda
- 1 teaspoon salt
- 2 tablespoons unsweetened cocoa powder
- 1 1/2 cups vegetable oil
- 1 cup buttermilk, room temperature
- 2 large eggs, room temperature
- 2 tablespoons red food coloring
- 1 teaspoon vanilla extract
- 1 teaspoon white vinegar
Cheesecake Filling:
- 24 oz cream cheese, softened
- 1 cup granulated sugar
- 3 tablespoons all-purpose flour
- 1 teaspoon vanilla extract
- 4 large eggs, room temperature
- 1 cup sour cream
Cream Cheese Frosting:
- 8 oz cream cheese, softened
- 1/2 cup unsalted butter, softened
- 4 cups powdered sugar
- 1 teaspoon vanilla extract

Instructions For Valentine’s Day Special Red Velvet Cheese Cake:
Preheat the oven:
Preheat your oven to 325°F (163°C). Grease and line the bottom of a 9-inch springform pan with parchment paper.
Prepare the Red Velvet Cake Base:
- In a medium bowl, whisk together flour, sugar, baking powder, baking soda, salt, and cocoa powder.
- In a separate large bowl, beat together oil, buttermilk, eggs, red food coloring, vanilla extract, and vinegar until well combined.
- Gradually add the dry ingredients to the wet ingredients, mixing until just combined. Be careful not to overmix.
- Pour the batter into the prepared springform pan and spread it evenly. Bake for about 25-30 minutes or until a toothpick inserted into the center comes out clean. Allow the cake to cool completely.
Prepare the Cheesecake Filling:
- In a large bowl, beat the softened cream cheese until smooth.
- Add sugar, flour, and vanilla extract, and continue to beat until well combined.
- Add the eggs one at a time, mixing well after each addition.
- Finally, fold in the sour cream until the mixture is smooth.
- Pour the cheesecake filling over the cooled red velvet cake base.
Bake the Cheesecake:
- Bake in the preheated oven for about 55-60 minutes or until the center is set.
- Allow the cheesecake to cool in the oven with the door ajar for about 1 hour.
- Refrigerate the cheesecake for at least 4 hours or overnight to set.
Prepare the Cream Cheese Frosting:
In a bowl, beat together the softened cream cheese, butter, powdered sugar, and vanilla extract until smooth and creamy.
Assemble the Cake:
- Once the cheesecake is fully chilled, spread the cream cheese frosting over the top.
- Optionally, decorate with red velvet cake crumbs, chocolate shavings, or fresh berries.
Chill and Serve:
- Place the cake back in the refrigerator for at least 1 hour before serving.
- Slice and enjoy your delicious Red Velvet Cheesecake!
This delightful Red Velvet Cheesecake is sure to be a hit for your Valentine’s Day celebration!
Why is Red Velvet Paired With Cream Cheese?
The pairing of red velvet cake with cream cheese frosting is a classic combination that has become synonymous with this popular dessert.There are several reasons why red velvet is often paired with cream cheese frosting:
- Balanced Flavors
- Creaminess and Moisture
- Contrasting Colors
- Traditional Association
- Cultural and Historical Significance
While cream cheese frosting is the traditional pairing, some variations may use different frostings or incorporate additional elements like nuts or chocolate shavings. However, the classic combination of red velvet and cream cheese remains enduring and widely appreciated.

The perfect blend of romance and sweetness with our Valentine’s Day Special: Red Velvet Cheesecake. This exquisite dessert combines classic red velvet cake’s rich and velvety texture with the creamy decadence of a luscious cheesecake. Red Velvet Cheesecake is the perfect way to add a touch of sweetness to your Valentine’s Day festivities.
Valentine’s Day Special Red Velvet Cheese Cake Recipe:
Here’s a delicious recipe for a Red Velvet Cheesecake, perfect for a Valentine’s Day special treat:
Ingredients For Red Velvet Cheese Cake:
Red Velvet Cake Base:
- 2 1/2 cups all-purpose flour
- 1 1/2 cups granulated sugar
- 1 teaspoon baking powder
- 1 teaspoon baking soda
- 1 teaspoon salt
- 2 tablespoons unsweetened cocoa powder
- 1 1/2 cups vegetable oil
- 1 cup buttermilk, room temperature
- 2 large eggs, room temperature
- 2 tablespoons red food coloring
- 1 teaspoon vanilla extract
- 1 teaspoon white vinegar
Cheesecake Filling:
- 24 oz cream cheese, softened
- 1 cup granulated sugar
- 3 tablespoons all-purpose flour
- 1 teaspoon vanilla extract
- 4 large eggs, room temperature
- 1 cup sour cream
Cream Cheese Frosting:
- 8 oz cream cheese, softened
- 1/2 cup unsalted butter, softened
- 4 cups powdered sugar
- 1 teaspoon vanilla extract
Instructions For Valentine’s Day Special Red Velvet Cheese Cake:
Preheat the oven:
Preheat your oven to 325°F (163°C). Grease and line the bottom of a 9-inch springform pan with parchment paper.
Prepare the Red Velvet Cake Base:
- In a medium bowl, whisk together flour, sugar, baking powder, baking soda, salt, and cocoa powder.
- In a separate large bowl, beat together oil, buttermilk, eggs, red food coloring, vanilla extract, and vinegar until well combined.
- Gradually add the dry ingredients to the wet ingredients, mixing until just combined. Be careful not to overmix.
- Pour the batter into the prepared springform pan and spread it evenly. Bake for about 25-30 minutes or until a toothpick inserted into the center comes out clean. Allow the cake to cool completely.
Prepare the Cheesecake Filling:
- In a large bowl, beat the softened cream cheese until smooth.
- Add sugar, flour, and vanilla extract, and continue to beat until well combined.
- Add the eggs one at a time, mixing well after each addition.
- Finally, fold in the sour cream until the mixture is smooth.
- Pour the cheesecake filling over the cooled red velvet cake base.
Bake the Cheesecake:
- Bake in the preheated oven for about 55-60 minutes or until the center is set.
- Allow the cheesecake to cool in the oven with the door ajar for about 1 hour.
- Refrigerate the cheesecake for at least 4 hours or overnight to set.
Prepare the Cream Cheese Frosting:
In a bowl, beat together the softened cream cheese, butter, powdered sugar, and vanilla extract until smooth and creamy.
Assemble the Cake:
- Once the cheesecake is fully chilled, spread the cream cheese frosting over the top.
- Optionally, decorate with red velvet cake crumbs, chocolate shavings, or fresh berries.
Chill and Serve:
- Place the cake back in the refrigerator for at least 1 hour before serving.
- Slice and enjoy your delicious Red Velvet Cheesecake!
This delightful Red Velvet Cheesecake is sure to be a hit for your Valentine’s Day celebration!
Why is Red Velvet Paired With Cream Cheese?
The pairing of red velvet cake with cream cheese frosting is a classic combination that has become synonymous with this popular dessert.There are several reasons why red velvet is often paired with cream cheese frosting:
- Balanced Flavors
- Creaminess and Moisture
- Contrasting Colors
- Traditional Association
- Cultural and Historical Significance
While cream cheese frosting is the traditional pairing, some variations may use different frostings or incorporate additional elements like nuts or chocolate shavings. However, the classic combination of red velvet and cream cheese remains enduring and widely appreciated.